But even when I tried searching at other places for birdcages I found that 1.) they're actually hard to find, especially ones that have enough space for large cards to fit through and 2.) the ones I did find were almost just as expensive! I knew I would have to get one at Michael's because, at the very least, I could use one of their weekly 40% Off coupons and a $30 birdcage would be cut down to $18 (See Wedding Decorations, Michaels Coupons). I found a birdcage I liked, but I didn't like the drabby gray color it was. So I kept searching . . . uneventfully.
Then it dawned on me: spray paint! Duh! I went back to Michaels and the birdcage was actually 50% off so I got it for only $15! (I guess it paid to wait this time)
Here's how it turned out:
To do this project you'll need:
- a birdcage (get it cheap!)
- spray paint (if you don't like the color)
- pretty paper (to line the bottom)
- ribbon
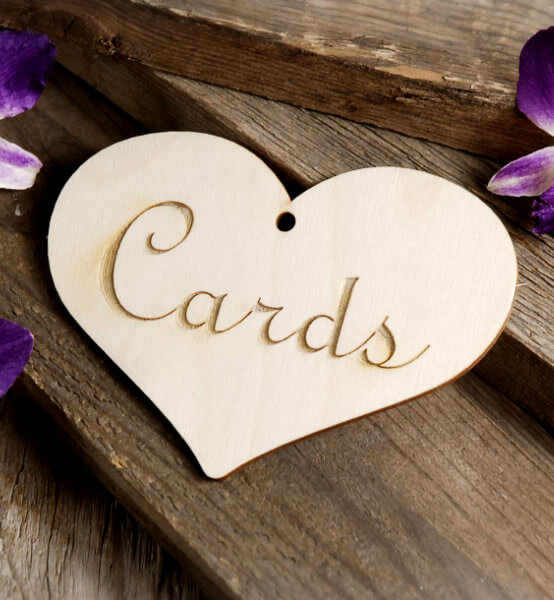
- "cards" sign
Step 1
Paint the birdcage if you need to. This may take several coats. You may want to add a clear gloss coat on top if you want that shiny look. I liked the kind of weathered (but clean) look the spray paint itself gave so I didn't do this.
Step 2
Once dry, flip the birdcage upside down and take a make a template of the bottom with scratch paper. Then use the template to cut out your paper to line the bottom and make it look pretty. I would suggest wrapping paper so it's wide enough to fit the bottom without multiple pieces and having edges. I'd also suggest the paper be one of your colors and the ribbon be the other color.
Step 3
Place the paper on the bottom of the inside of the birdcage. You may want to secure it down with double sided tape on the bottom of it.
Step 4
Make or find a "cards" sign. I got this one from one of my favorite sites:

Step 5
Cut the ribbon to fit around the top of the birdcage. You can also do some weaving action between the spokes if you want. And attach the card sign.
Easy!
I really love how my birdcage came out better than any of the other ones I saw and I spent less on it!
